ASP.NET Core and Angular2 - Part 1
Jürgen Gutsch - 04 April, 2016
Important Note: This blog series is pretty much out of date. It uses an older beta version of Angular2 and the RC2 release of ASP.NET Core. Please have a look int the new posts about Angular2 and ASP.NET Core using the latest versions:
The last weeks I played around with Angular2 in a ASP.NET Core application. To start writing Angular 2 components, it needs some preparation. In the first part of this small Angular2 series I'm going to show you how to prepare your project to start working with Angular2.
Since I'm one of the leads of INETA Germany and responsible for the speakers and the user groups, I need a small tool to manage the speakers, the groups and the events where the speakers are talking. I also want to manage and send some newsletters to the speakers and the groups.
Sure, I could use Excel and Outlook, but it seems to be too easy and I need some new challenges. This is why I want to write a small INETA Admin tool, using ASP.NET Core, Typescript and Angular 2. Maybe later I'll host it on an Azure WebSite. This is why I want to prepare the Application to work on Azure.
Prerequisites
I try to create a real single page application (SPA) what is really easy with Angular2. This is why I create an empty ASP.NET Project without any controllers, views and other stuff in it. It only contains a Startup.cs project.json and a Project_Readme.html. I'll create some API Controllers later on to provide some data to Angular2
In this and in future posts, I use some interfaces from a small library, which I always use to connect to Azure Table Storage. The first interface is the IItem to mark objects as an object to use in a GenericTableEntity. The other interface is the ITableClient which is something similar to the EntityContext, to connect to the Azure Table Storage and read objects out of it. In this posts I'll just use a mock of that interface, which will provide objects generated by GenFu.
Let's start
Lets create a new empty ASP.NET Core project. We don't need any views, but just a single Index.html in the wwwroot folder. This file will be the host of our single page application.
The nuGet dependencies
We also need some NuGet dependencies in our project:
"dependencies": {
  "Microsoft.AspNet.IISPlatformHandler": "1.0.0-rc1-final",
  "Microsoft.AspNet.Server.Kestrel": "1.0.0-rc1-final",
  "Microsoft.AspNet.Mvc": "6.0.0-rc1-final",
  "Microsoft.AspNet.StaticFiles": "1.0.0-rc1-final",
  "Microsoft.Extensions.CodeGenerators.Mvc": "1.0.0-rc1-final",
  "Microsoft.Extensions.Configuration.FileProviderExtensions": "1.0.0-rc1-final",
  "Microsoft.Extensions.Configuration.Json": "1.0.0-rc1-final",
  "Microsoft.Extensions.Logging": "1.0.0-rc1-final",
  "Microsoft.Extensions.Logging.Console": "1.0.0-rc1-final",
  "Microsoft.Extensions.Logging.Debug": "1.0.0-rc1-final",
  "GenFu": "1.0.4",
  "Gos.Tools.Azure": "1.0.0-*",
  "Gos.Tools.Cqs": "1.0.0-*"
},
We need MVC just for the Web API to provide the data. The StaticFiles library is needed to serve the Index.html and all the CSS, images and JavaScript files to run the SPA. We also need some logging and configuration.
- GenFu is just used to generate some mock data.
- Gos.Tools.Azure is the already mentioned Azure library to wrap the connection to the Azure Table Storage.
- Gos.Tools.Cqs is a small library which provides the infrastructure to use the "Command & Query Segregation" pattern in your app. This three libraries are not yet relevant for the part one of this series.
Prepare the Startup.cs
To get the static files (Index.html, CSS, images and JavaScripts) we need to add the needed MiddleWares
app.UseDefaultFiles();
app.UseStaticFiles();

app.UseMvcWithDefaultRoute();
We also need to add MVC with the default routes to activate the Web PI. Because we'll use attribute routing, we don't need to configure a special routing here.
To enable Angular2 routing and deep links in our SPA, we need a separate error handling: In case of any 404 Exception we need to call the Index.html because the called URL could be a Angular2 route. We need to ensure the SPA host (index.html) is called to handle that route:
app.Use(async (context, next) =>
{
    await next();

    if (context.Response.StatusCode == 404 && !Path.HasExtension(context.Request.Path.Value))
    {
        context.Request.Path = "/index.html"; // Put your Angular root page here
        await next();
    }
});
This code sets the requested path to the index.html, in case we get an 404 status and if there's no call to a file (!Path.HasExtension()) and than we start the pipeline again.
I placed this code before the previously mentioned MiddleWares to provide the static files.
I also need to add MVC to the services in the ConfigureServices method:
services.AddMvc();
bower dependencies
To get a pretty nice looking application I want to use bootstrap. I add a new bower configuration to the project:
{
  "name": "ASP.NET",
  "private": true,
  "dependencies": {
    "bootstrap": "3.3.6",
    "jquery": "2.2.2"
  }
}
After saving this file Visual Studio 2015 starts downloading the dependencies.
NPM dependencies
Now we need to add Angular2 and its dependencies and gulp to prepare our scripts. To do this, I added a NPM configuration file called package.json:
{
  "version": "1.0.0",
  "name": "ASP.NET",
  "private": true,
  "dependencies": {
    "angular2": "2.0.0-beta.11",
    "systemjs": "0.19.24",
    "es6-promise": "3.1.2",
    "es6-shim": "0.35.0",
    "reflect-metadata": "0.1.3",
    "rxjs": "5.0.0-beta.3",
    "zone.js": "0.6.5"
  },
  "devDependencies": {
    "gulp": "3.9.1",
    "gulp-concat": "2.6.0",
    "gulp-cssmin": "0.1.7",
    "gulp-uglify": "1.5.3",
    "rimraf": "2.5.2"
  }
}
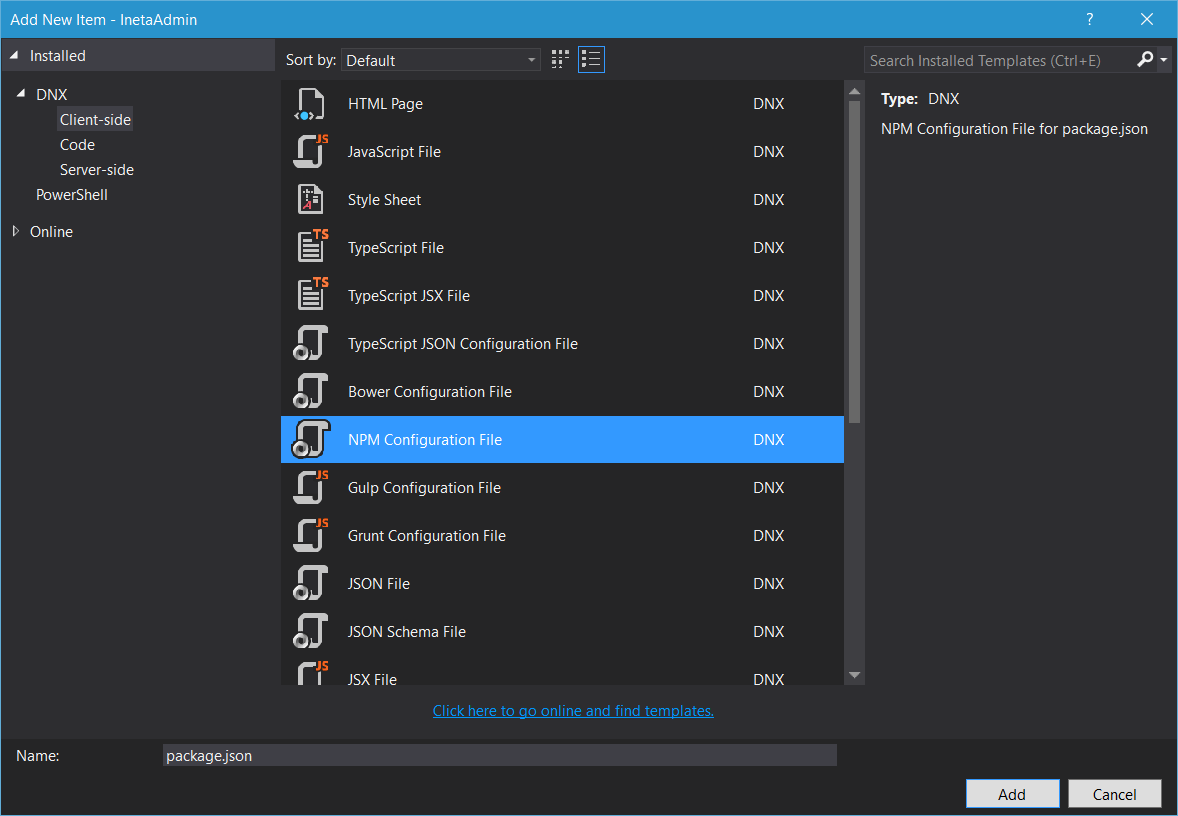
BTW: If you add a new file in Visual Studio, you can easily select predefined files for client side techniques in the "add new items" dialog:
Visual Studio 2015 also starts downloading the dependencies just after saving the file. NPM needs some more time to download all the dependencies.
Preparing the JavaScripts
Bower will load the dependencies into the lib folder in the wwwroot. NPM stores the files outside the wwwroot in the Node_Modules. We want to move just the needed files to the wwwroot, too. To get this done we use Gulp. Just create a new gulpfile.js with the "add new items" dialog and add the following lines in it:
/*
This file in the main entry point for defining Gulp tasks and using Gulp plugins.
Click here to learn more. http://go.microsoft.com/fwlink/?LinkId=518007
*/

var gulp = require('gulp');

gulp.task('default', function () {
    // place code for your default task here
});

var paths = {};
paths.webroot = "wwwroot/";
paths.npmSrc = "./node_modules/";
paths.npmLibs = paths.webroot + "lib/npmlibs/";

gulp.task("copy-deps:systemjs", function () {
    return gulp.src(paths.npmSrc + '/systemjs/dist/**/*.*', { base: paths.npmSrc + '/systemjs/dist/' })
         .pipe(gulp.dest(paths.npmLibs + '/systemjs/'));
});

gulp.task("copy-deps:angular2", function () {
    return gulp.src(paths.npmSrc + '/angular2/bundles/**/*.js', { base: paths.npmSrc + '/angular2/bundles/' })
         .pipe(gulp.dest(paths.npmLibs + '/angular2/'));
});

gulp.task("copy-deps:es6-shim", function () {
    return gulp.src(paths.npmSrc + '/es6-shim/es6-sh*', { base: paths.npmSrc + '/es6-shim/' })
         .pipe(gulp.dest(paths.npmLibs + '/es6-shim/'));

});
gulp.task("copy-deps:es6-promise", function () {
    return gulp.src(paths.npmSrc + '/es6-promise/dist/**/*.*', { base: paths.npmSrc + '/es6-promise/dist/' })
         .pipe(gulp.dest(paths.npmLibs + '/es6-promise/'));
});

gulp.task("copy-deps:rxjs", function () {
    return gulp.src(paths.npmSrc + '/rxjs/bundles/*.*', { base: paths.npmSrc + '/rxjs/bundles/' })
         .pipe(gulp.dest(paths.npmLibs + '/rxjs/'));
});

gulp.task("copy-deps", ["copy-deps:rxjs", 'copy-deps:angular2', 'copy-deps:systemjs', 'copy-deps:es6-shim', 'copy-deps:es6-promise']);
Now you can use the Task Runner Explorer in Visual Studio 2015 to run the "copy-deps" task to get the files to the right location.
Preparing the Index.html
In the header of the Index.html we just need a meaningfull title, a base href to get the Angular routing working and a refernce to the bootstrap css:
<base href="/" />
<link rel="stylesheet" href="lib/bootstrap/dist/css/bootstrap.css" />
At the end of the body we need a little more. Add the following JavaScript references:
<script src="lib/npmlibs/es6-shim/es6-shim.js"></script>
<script src="lib/npmlibs/es6-promise/es6-promise.js"></script>
<script src="lib/npmlibs/systemjs/system-polyfills.src.js"></script>
<script src="lib/npmlibs/angular2/angular2-polyfills.js"></script>
<script src="lib/npmlibs/systemjs/system.src.js"></script>
<script src="lib/npmlibs/rxjs/Rx.js"></script>
<script src="lib/npmlibs/angular2/angular2.js"></script>
<script src="lib/npmlibs/angular2/router.js"></script>
<script src="lib/npmlibs/angular2/http.js"></script>
<script src="lib/jquery/dist/jquery.js"></script>
<script src="lib/bootstrap/dist/js/bootstrap.js"></script>
After that, we have to add some configuration and to initialize our Angular2 app:
<script>
    System.config({
        packages: {
            'app': { defaultExtension: 'js' },
            'lib': { defaultExtension: 'js' },
        }
    });

    System.import('app/boot')
        .then(null, console.error.bind(console));
</script>
This code calls a boot.js in the folder app inside the wwwroot. This file is the Angular2 bootstrap we need to create later on.
Just after the starting body, we need to call the directive of our first Angular2 component:
<my-app>Loading...</my-app>
The string "Loading..." will be displayed until the Angular2 app is loaded. I'll show the Angular2 code a little later.
Configure TypeScript
Since the AngularJS team is using TypeScript to create Angular2, it makes a lot sence to write the app using TypeScript instead of plain JavaScript. TypeScript is an superset of JavaScript to use future technologies. TypeScript will be transpiled (translated/compiled) to JavaScript while compiling the entire application, if the TypeScript support in Visual Studio 2015 is enabled.
In some tutorials they proposed to store the TypeScript files in the wwwroot to. I prefer to work in a separate Scripts folder outside the wwwroot and to transpile the JavaScripts into the wwwroot/app folder. To do this we need a TypeScript configuration called tsconfig.json. This file tells the TypeScript compiler how to compile where to place the results:
{
  "compilerOptions": {
    "emitDecoratorMetadata": true,
    "experimentalDecorators": true,
    "module": "commonjs",
    "noEmitOnError": true,
    "noImplicitAny": false,
    "outDir": "../wwwroot/app/",
    "removeComments": false,
    "sourceMap": true,
    "target": "es5"
  },
  "exclude": [
    "node_modules"
  ]
}
I placed this file in a folder called scripts which is in the root of the project. I will add all the TypeScript files inside this folder.
Enable ES6
To use Ecma-Script 6 features in TypeScript we need to add the es6-shim definition to the scripts folder. Just download it from the DefinitelyTyped repository on GitHub.
That's pretty much it to start working with Angular2, TypeScript and ASP.NET Core. We haven't seen very much ASP.NET Core stuff until yet, but we will see some more things in one of the next posts about it.
Let's create the first app.
No we have the project set up, to write write Angular2 components using TypeScript and to use the transpiled code in the Index.html, which hosts the app.
As already mentioned we first need to bootstrap the application. I did this by creating a file called boot.ts inside the scripts folder. This files contains just four lines of code:
///<reference path="../node_modules/angular2/typings/browser.d.ts"/>
import {bootstrap}              from 'angular2/platform/browser'
import {AppComponent}           from './app'

bootstrap(AppComponent);
It references and imports the angular2/plattform/browser component and the AppComponent which needs to be created in the next step.
The last line starts the Angular2 App by passing the root component to the bootstrap method.
The AppComponent is in another TypeScript file called app.ts:
import {Component} from 'angular2/core';
@Component({
selector: 'my-app',
template: '<p>{{Title}}</p>'
})
export class AppComponent {
Title: string;
constructor() {
this.Title = 'Hello World';
}
}
This pretty simple component just defines the directive we already used in the Index.html and it contains a simple template. Instead if the string "Loading..." we should see the "Hello World" in the browser after compiling and running the application.
Pressing F5 should compile the ASP.NET Core application and transpile the TypeScript code. In case of compilation errors, we will see the TypeScript errors too. This is very helpful.
If the compilation is done and we still don't see any results, we should have a look into the development console in the browser. Angular2 logs pretty detailed information about problems on the client.
Conclusion
This is just a simple "Hello World" example, but this will show you whether the configuration is working or not.
If this is done and if all is working we can start creating some more complex things. But let me show this in another blog post.