Trying BitBucket Pipelines with ASP.NET Core
Jürgen Gutsch - 08 December, 2017
BitBucket provides a continuous integration tool called Pipelines. This is based on Docker containers which are running on a Linux based Docker machine. Within this post I wanna try to use BitBucket Pipelines with an ASP.NET Core application.
In the past I preferred BitBucket over GitHub, because I used Mercurial more than Git. But that changed five years ago. Since than I use GitHub for almost every new personal project that doesn't need to be a private project. But at the YooApps we use the entire Atlassian ALM Stack including Jira, Confluence and BitBucket. (We don't use Bamboo yet, because we also use Azure a lot and we didn't get Bamboo running on Azure). BitBucket is a good choice, if you anyway use the other Atlassian tools, because the integration to Jira and Confluence is awesome.
Since a while, Atlassian provides Pipelines as a simple continuous integration tool directly on BitBucket. You don't need to setup Bamboo to build and test just a simple application. At the YooApps we actually use Pipelines in various projects which are not using .NET. For .NET Projects we are currently using CAKE or FAKE on Jenkins, hosted on an Azure VM.
Pipelines can also used to build and test branches and pull request, which is awesome. So why shouldn't we use Pipelines for .NET Core based projects? BitBucket actually provides an already prepared Pipelines configuration for .NET Core related projects, using the microsoft/dotnet Docker image. So let's try pipelines.
The project to build
As usual, I just setup a simple ASP.NET Core project and add a XUnit test project to it. In this case I use the same project as shown in the Unit testing ASP.NET Core post. I imported that project from GitHub to BitBucket. if you also wanna try Pipelines, feel free to use the same way or just download my solution and commit it into your repository on BitBucket. Once the sources are in the repository, you can start to setup Pipelines.
- GitHub https://github.com/JuergenGutsch/unittesting-aspnetcore/
- BitBucket: https://bitbucket.org/JuergenGutsch/unittesting-aspnetcore/
Setup Pipelines
Setting up Pipelines actually is pretty easy. In your repository on BitBucket.com is a menu item called Pipelines. After pressing it you'll see the setup page, where you are able to select a technology specific configuration. .NET Core is not the first choice for BitBucket, because the .NET Core configuration is placed under "More". It is available anyway, which is really nice. After selecting the configuration type, you'll see the configuration in an editor inside the browser. It is actually a YAML configuration, called bitbucket-pipelines.yml, which is pretty easy to read. This configuration is prepared to use the microsoft/dotnet:onbuild Docker image and it already has the most common .NET CLI commands prepared, that will be used with that ASP.NET Core projects. You just need to configure the projects names for the build and test commands.
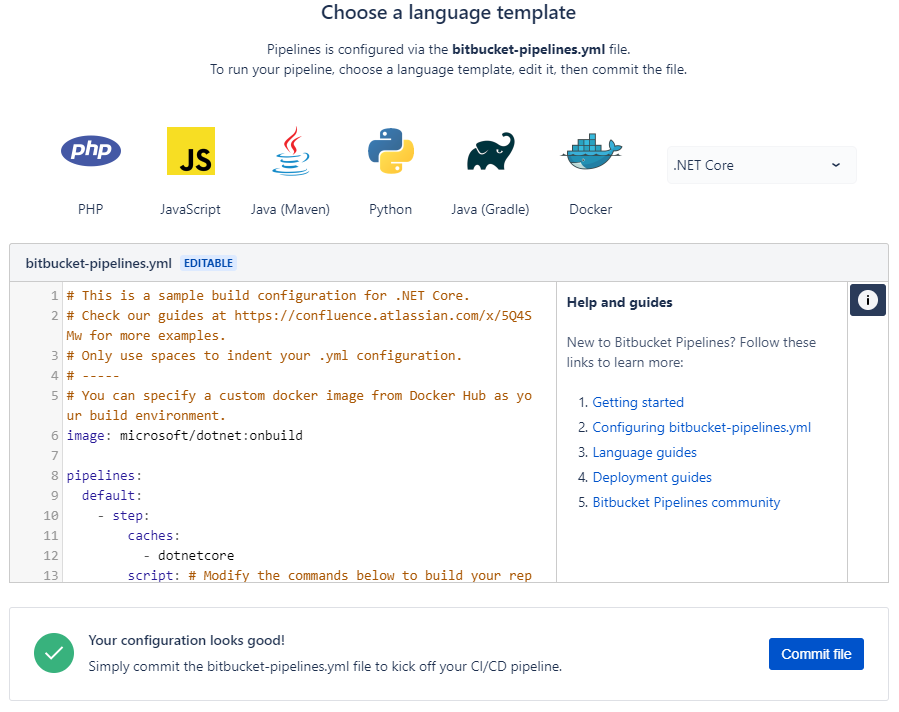
The completed configuration for my current project looks like this:
# This is a sample build configuration for .NET Core.
# Check our guides at https://confluence.atlassian.com/x/5Q4SMw for more examples.
# Only use spaces to indent your .yml configuration.
# -----
# You can specify a custom docker image from Docker Hub as your build environment.
image: microsoft/dotnet:onbuild

pipelines:
  default:
    - step:
        caches:
          - dotnetcore
        script: # Modify the commands below to build your repository.
          - export PROJECT_NAME=WebApiDemo
          - export TEST_NAME=WebApiDemo.Tests
          - dotnet restore
          - dotnet build $PROJECT_NAME
          - dotnet test $TEST_NAME
If you don't have tests yet, comment the last line out by adding a #-sign in front of that line.
After pressing "Commit file", this configuration file gets stored in the root of your repository, which makes it available for all the developers of that project.
Let's try it
After that config was saved, the build started immediately... and failed!

Why? Because that Docker image was pretty much outdated. It contains an older version with an SDK that still uses the the project.json for .NET Core projects.
Changing the name of the Docker image from microsoft/dotnet:onbuild to microsoft/dotnet:sdk helps. You now need to change the bitbucket-pipelines.yml in your local Git workspace or using the editor on BitBucket directly. After committing the changes, again the build starts immediately and is green now

Even the tests are passed. As expected, I got a pretty detailed output about every step configured in the "script" node of the bitbucket-pipelines.yml
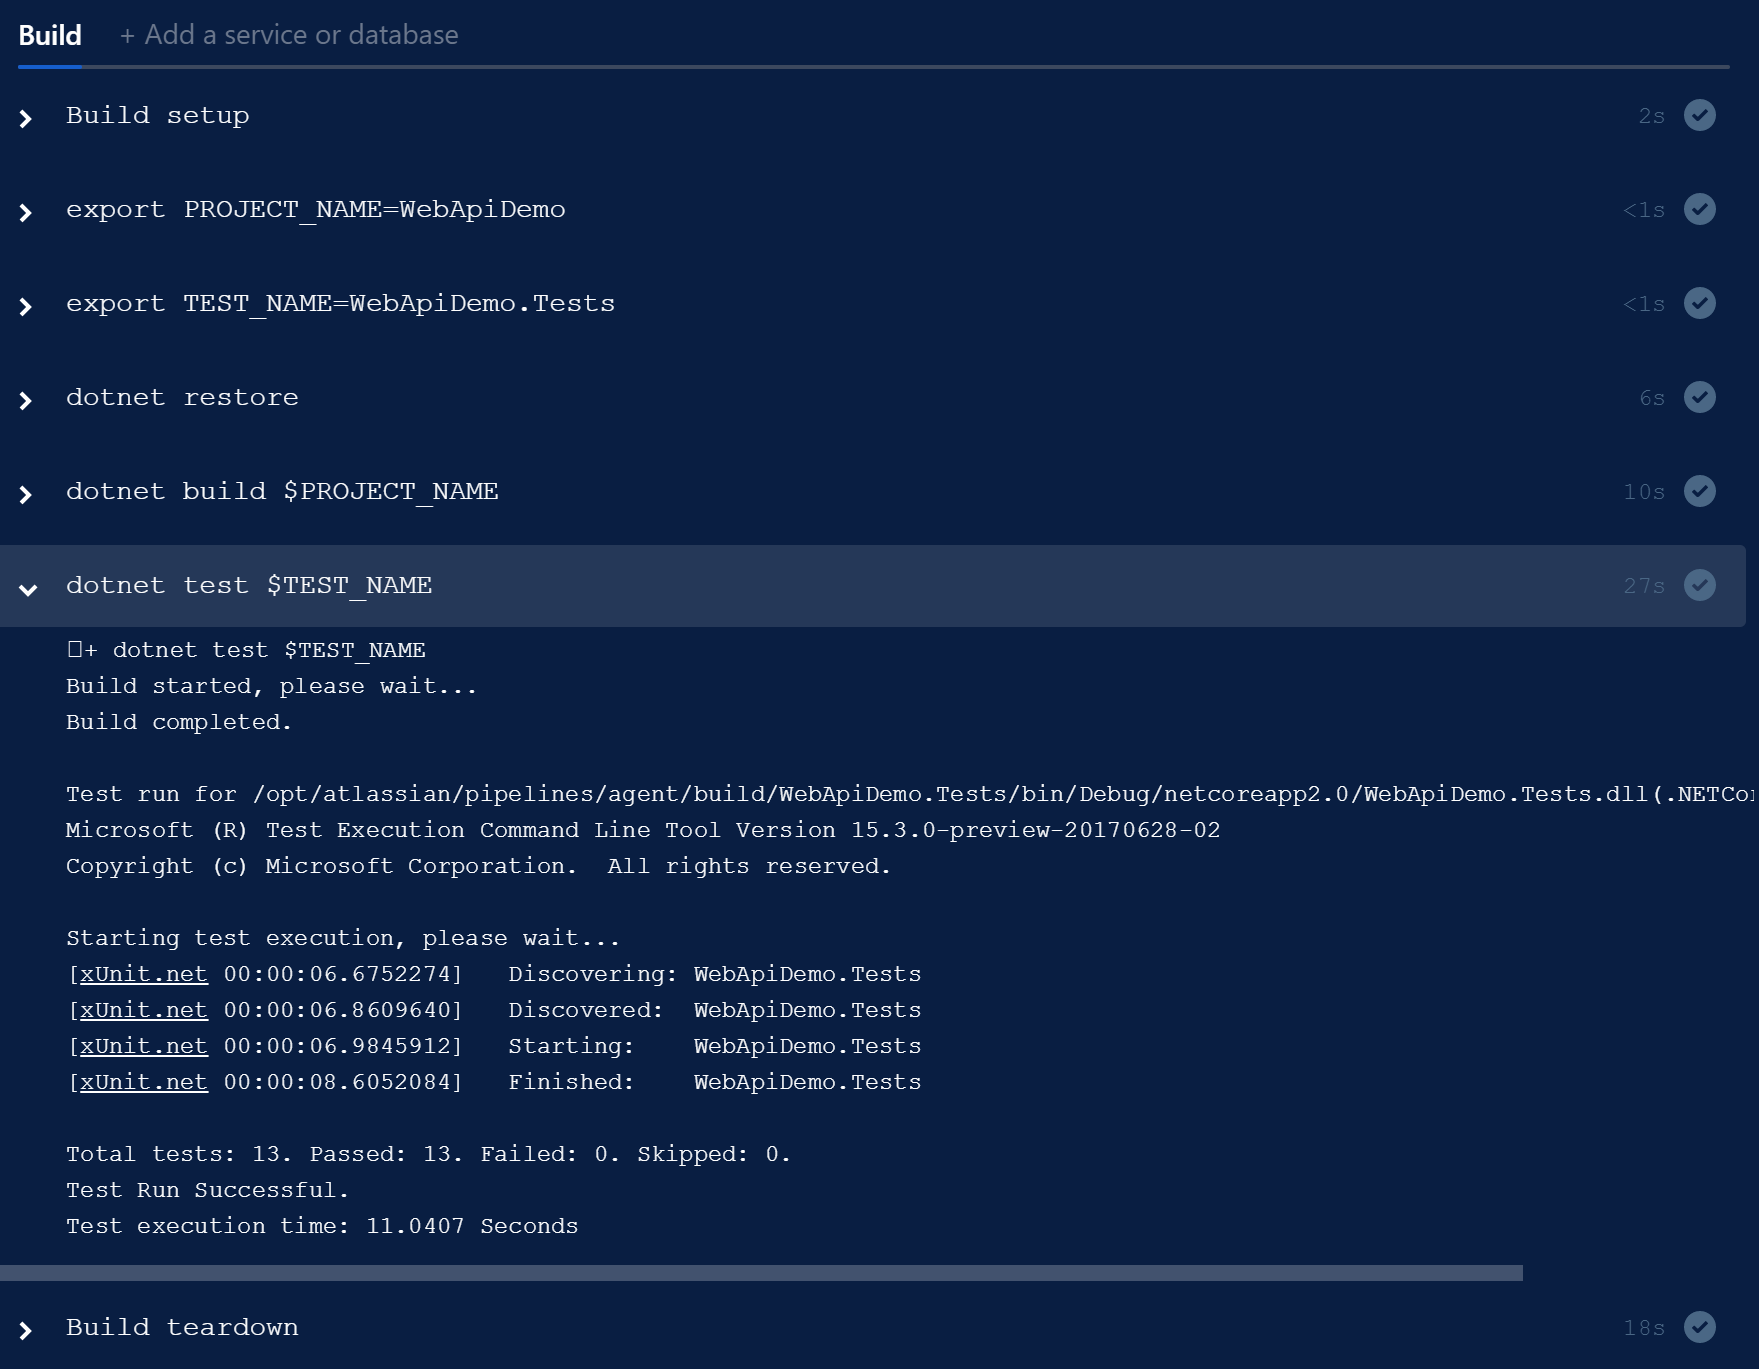
You don't need to know how to configure Docker using the pipelines. This is awesome.
Let's try the PR build
To create a PR, I need to create a feature branch first. I created it locally using the name "feature/build-test" and pushed that branch to the origin. You now can see that this branch got built by Pipelines:

Now let's create the PR using the BitBucket web UI. It automatically assigns my latest feature branch and the main branch, which is develop in my case:
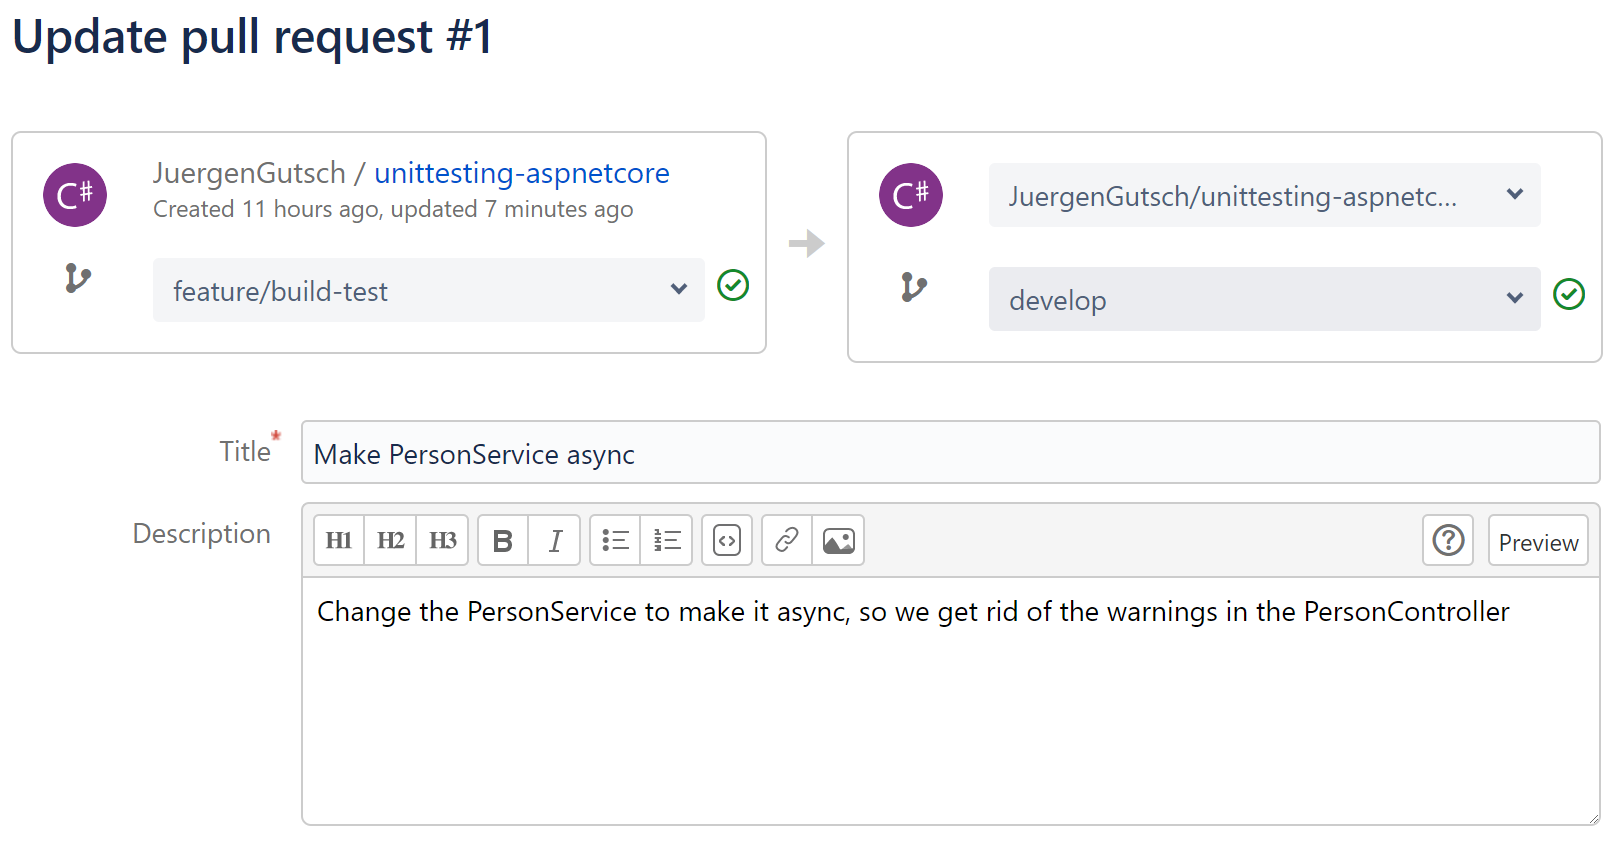
Here we see that both branches are successfully built and tested previously. After pressing save we see the build state in the PRs overview:
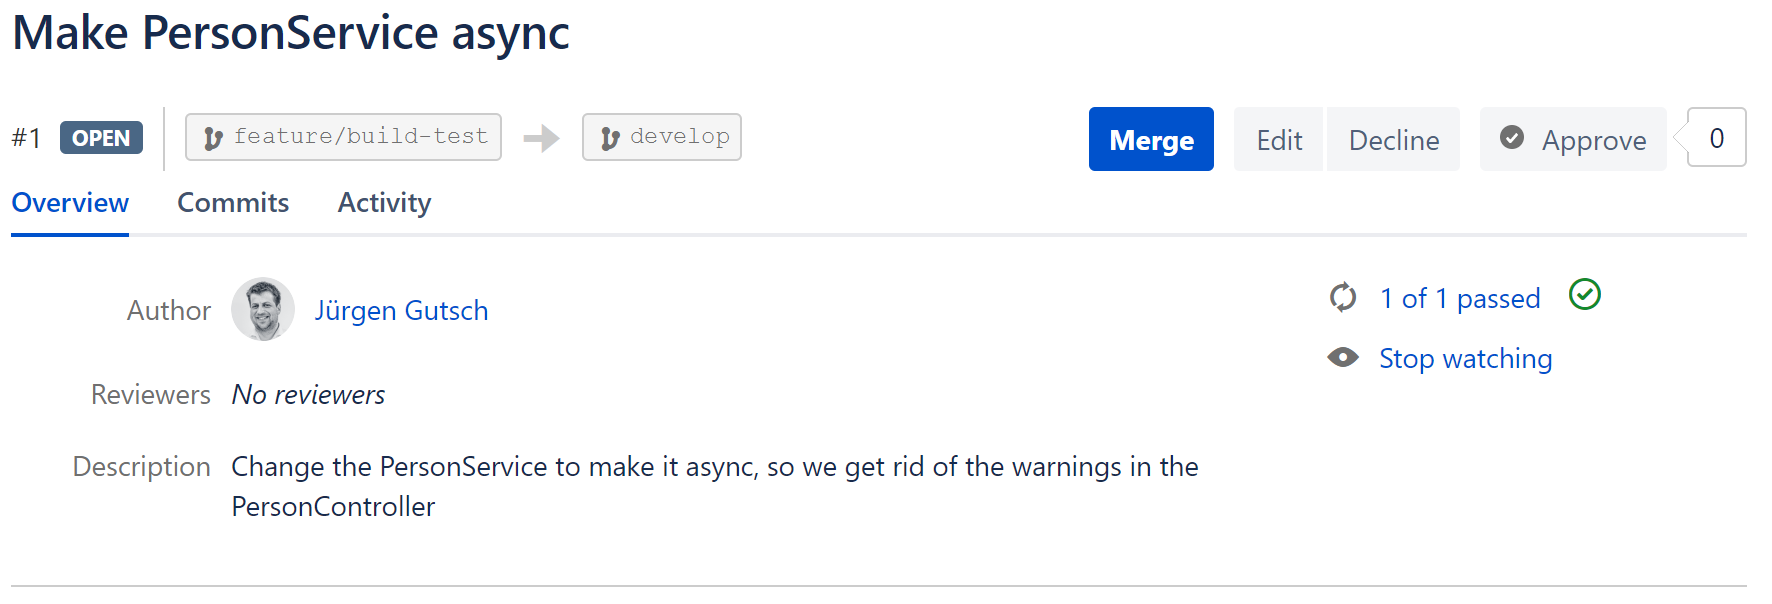
This is actually not a specific built for that PR, but the build of the feature branch. So in this case, it doesn't really build the PR. (Maybe it does, if the PR comes from a fork and the branch wasn't tested previously. I didn't test it yet.)
After merging that PR back to the develop (in that case), we will see that this merge commit was successfully built too:
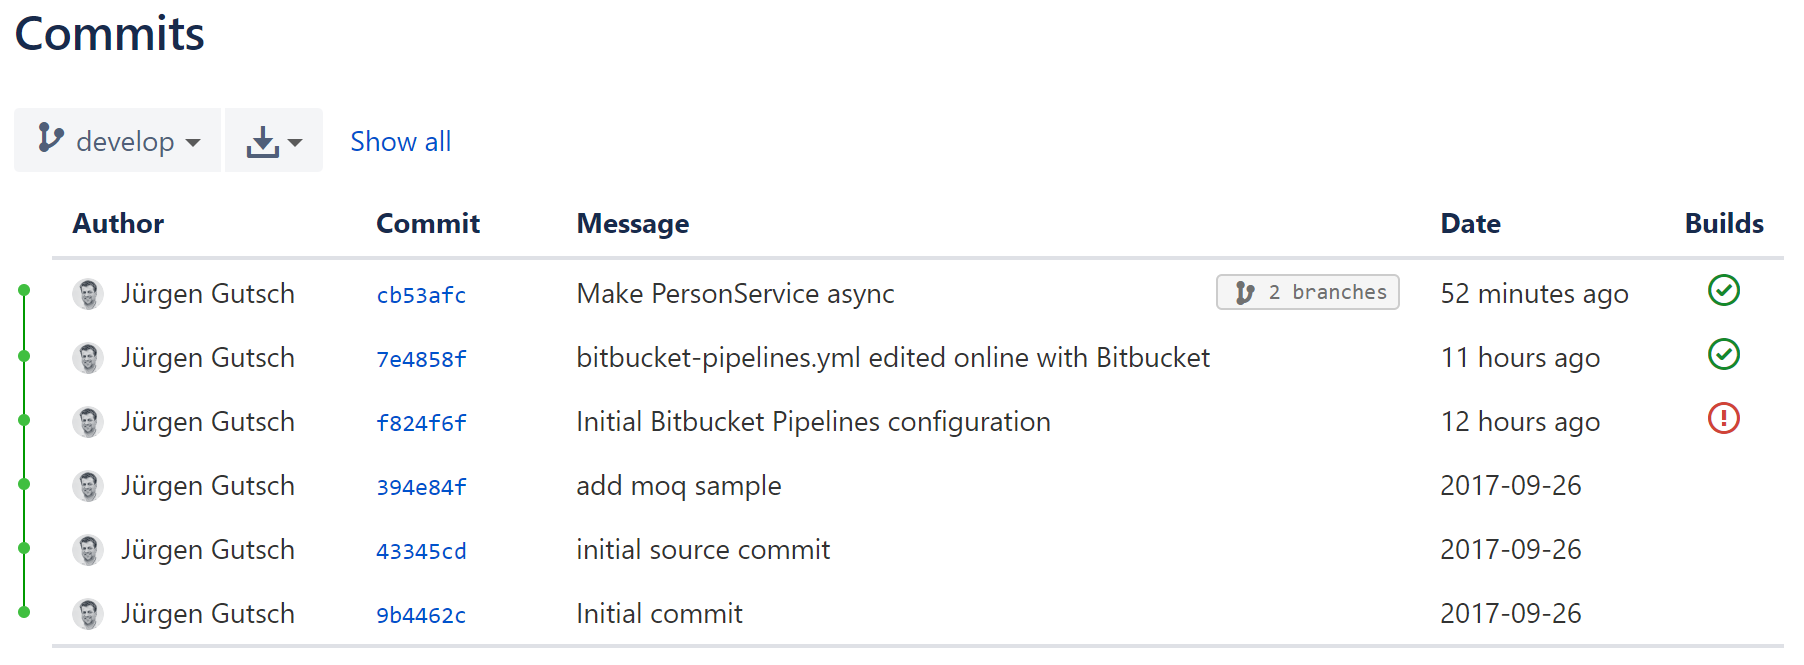
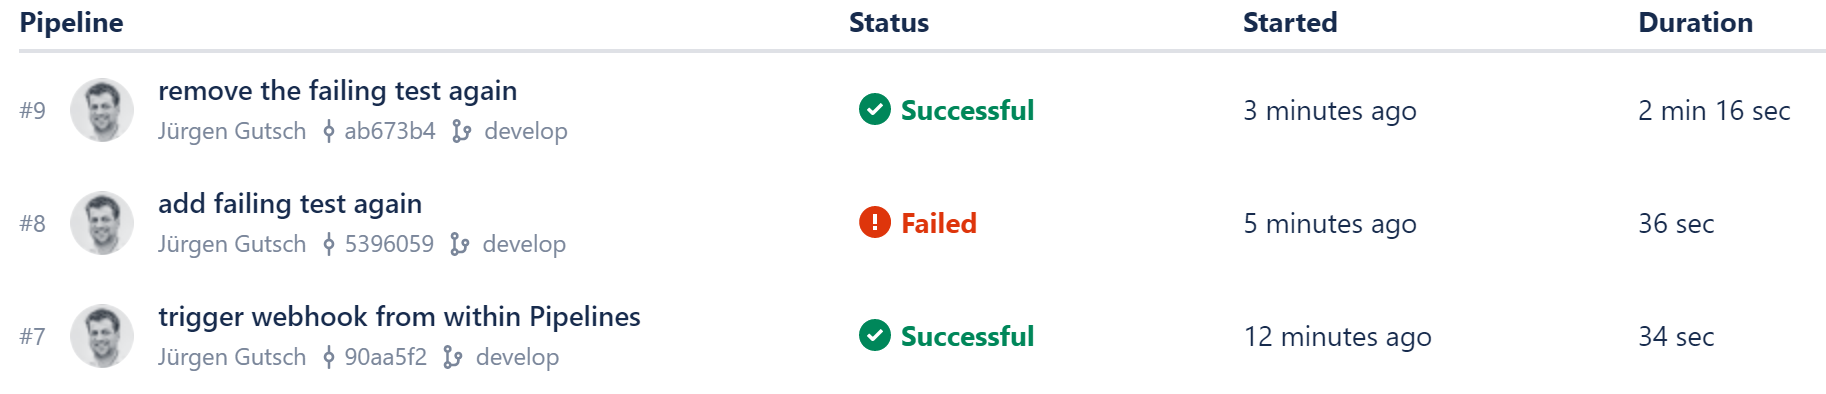
We have four builds done here: The failing one, the one 11 hours ago and two builds 52 minutes ago in two different branches.
The Continuous Deployment pipeline
With this, I would be save to trigger a direct deployment on every successful build of the main branches. As you maybe know, it is super simple to deploy a web application to an Azure web app, by connecting it directly to any Git repository. Usually this is pretty dangerous, if you don't have any builds and tests before you deploy the code. But in this case, we are sure the PRs and the branches are building and testing successfully.
We just need to ensure that the deployment is only be triggered, if the build is successfully done. Does this work with Pipelines? I'm pretty curious. Let's try it.
To do that, I created a new Web App on Azure and connect this app to the Git repository on BitBucket. I'll now add a failing test and commit it to the Git repository. What now should happen is, that the build starts before the code gets pushed to Azure and the failing build should disable the push to Azure.
I'm skeptical whether this is working or not. We will see.
The Azure Web App is created and running on http://build-with-bitbucket-pipelines.azurewebsites.net/. The deployment is configured to listen on the develop branch. That means, every time we push changes to that branch, the deployment to Azure will start.
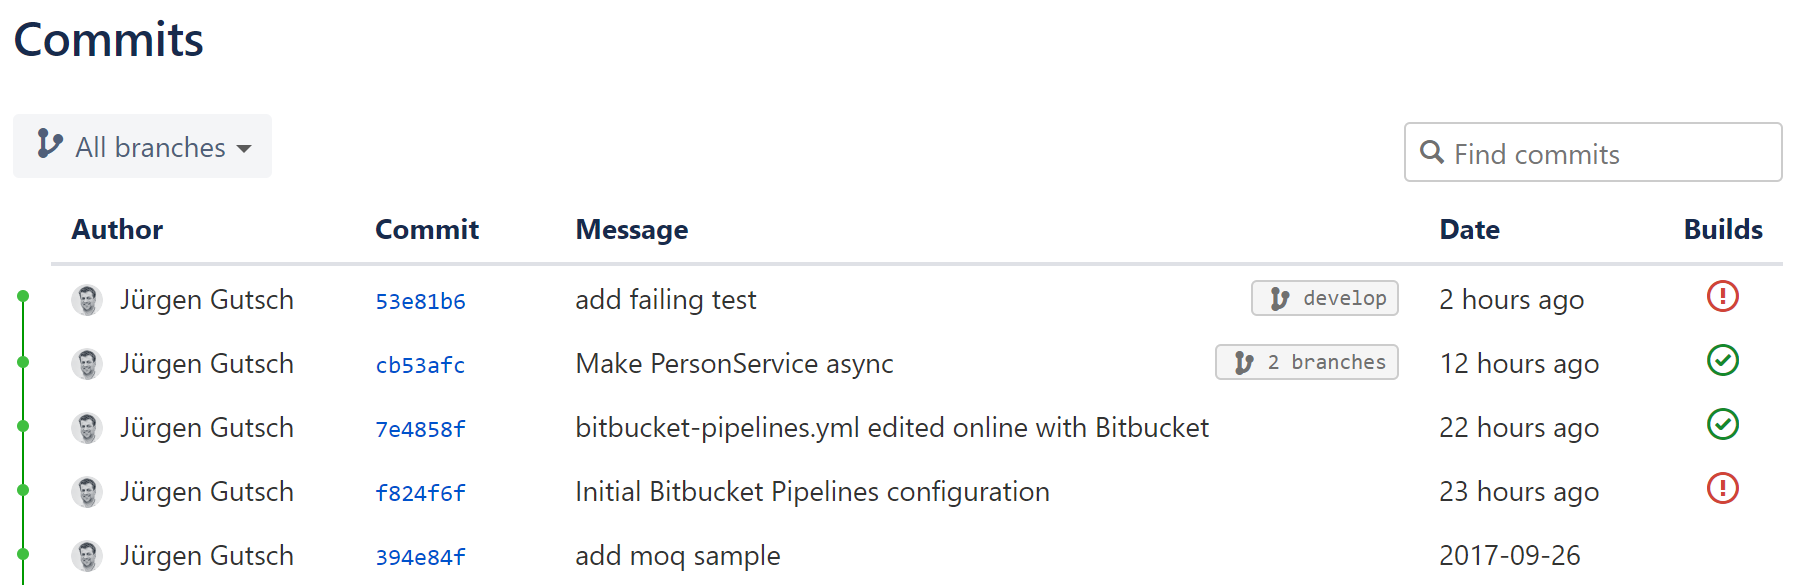
I'll now create a new feature branch called "feature/failing-test" and push it to the BitBucket. I don't follow the same steps as described in the previous section about the PRs, to keep the test simple. I merge the feature branch directly and without an PR to develop and push all the changes to BitBucket. Yes, I'm a rebel... ;-)
The build starts immediately and fails as expected:
But what about the deployment? Let's have a look at the deployments on Azure. We should only see the initial successful deployment. Unfortunately there is another successful deployment with the same commit message as the failing build on BitBucket:
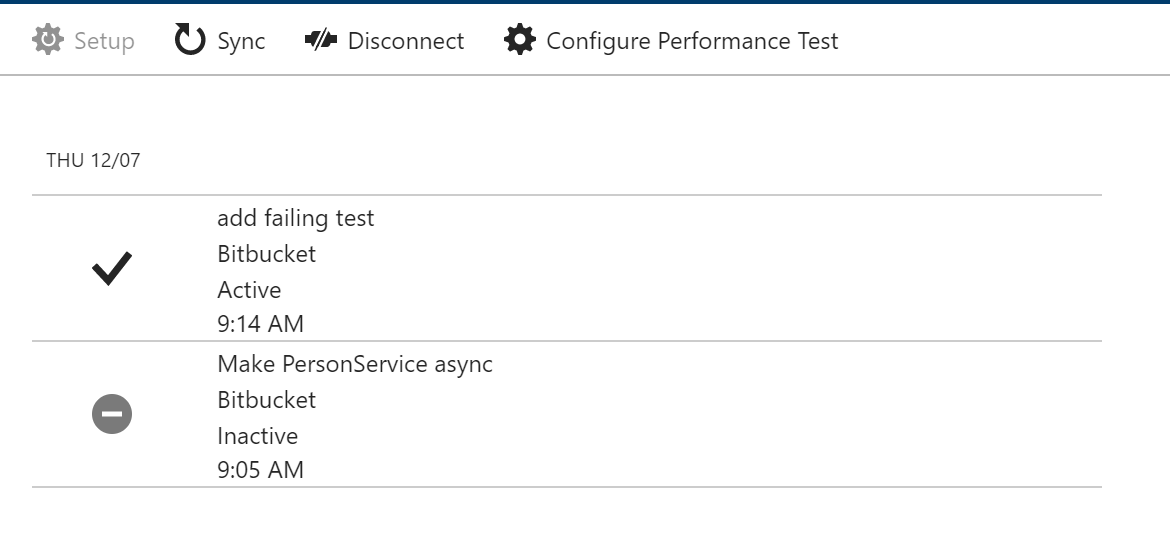
This is bad. We now have an unstable application running on azure. Unfortunately there is no option on BitBucket to trigger the WebHook on a successful build. We are able trigger the Hook on a build state change, but it is not possible to define on what state we want to trigger the build.
Too bad, this doesn't seem to be the right way to configure the continuous deployment pipeline in the same easy way than the continuous integration process. Sure there are many other, but more complex ways to do that.
Update 12/8/2017
There is anyway a simple option to setup an deployment after successful build. This could be done by triggering the Azure webhook inside the Pipelines. An sample bash script to do that can be found here: https://bitbucket.org/mojall/bitbucket-pipelines-deploy-to-azure/ Without the comments it looks like this:
curl -X POST "https://\$$SITE_NAME:$FTP_PASSWORD@$SITE_NAME.scm.azurewebsites.net/deploy" \
  --header "Content-Type: application/json" \
  --header "Accept: application/json" \
  --header "X-SITE-DEPLOYMENT-ID: $SITE_NAME" \
  --header "Transfer-encoding: chunked" \
  --data "{\"format\":\"basic\", \"url\":\"https://$BITBUCKET_USERNAME:$BITBUCKET_PASSWORD@bitbucket.org/$BITBUCKET_USERNAME/$REPOSITORY_NAME.git\"}"

echo Finished uploading files to site $SITE_NAME.
I now need to set the environment variables in the Pipelines configuration:
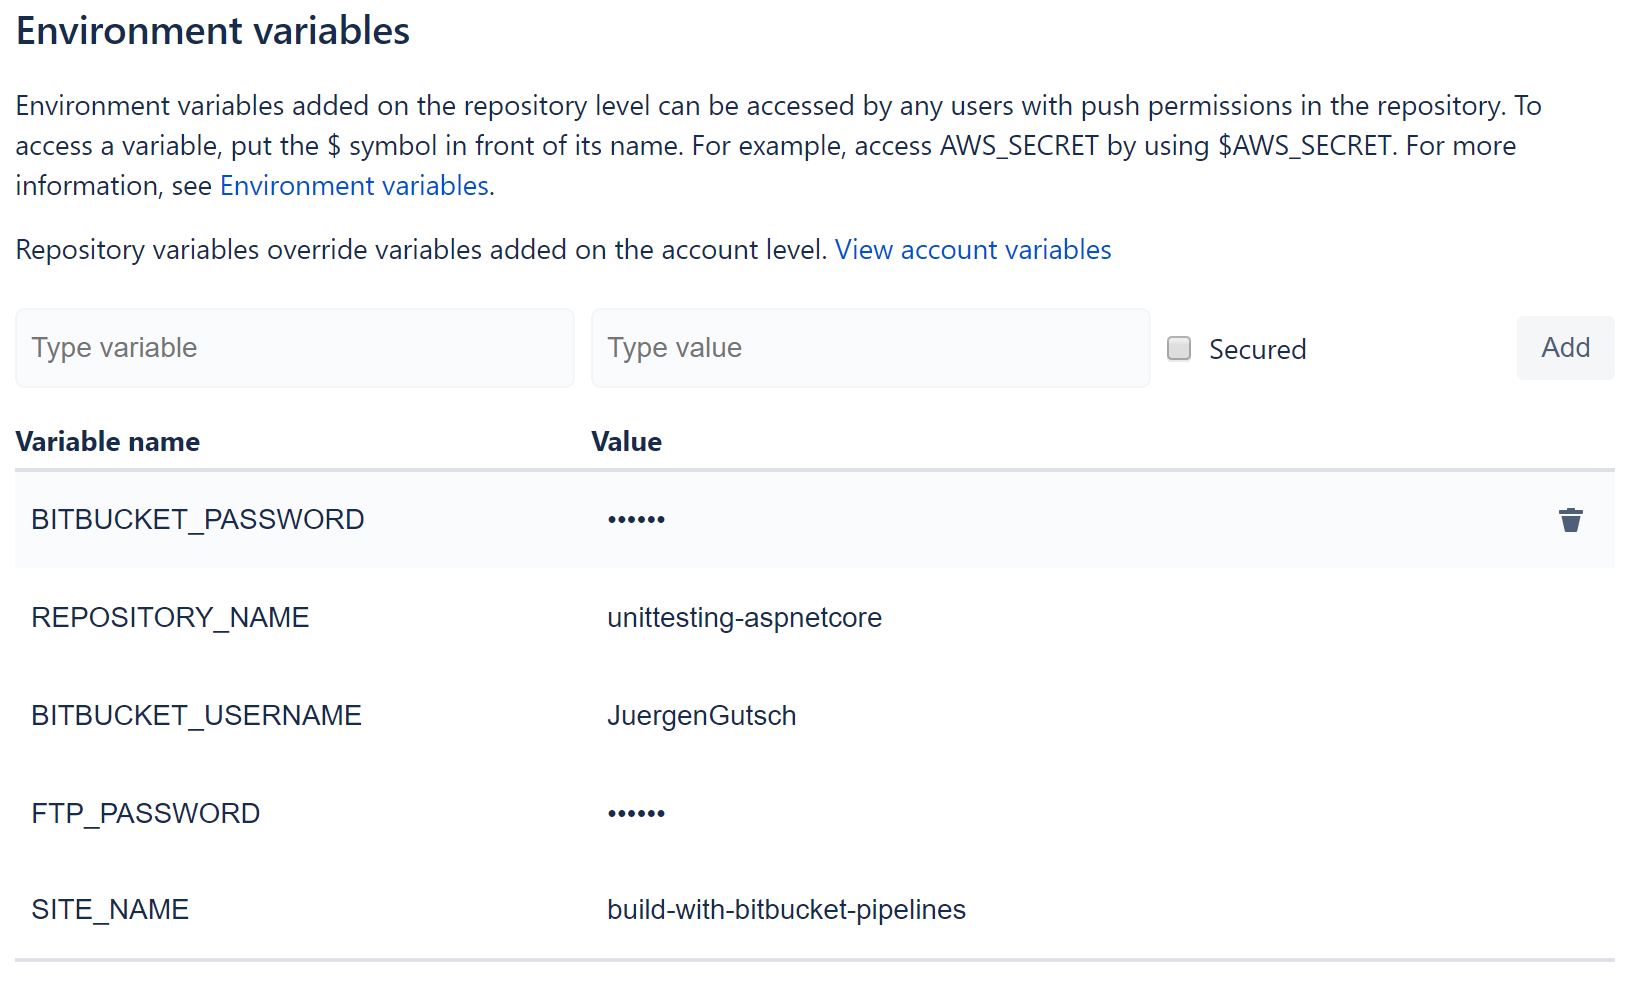
Be sure to check the "Secured" checkbox for every password variable, to hide the password in this UI and in the log output of Pipelines.
And we need to add two script commands to the bitbucket-pipelines.yml:
- chmod +x ./deploy-to-azure.bash
- ./deploy-to-azure.bash
The last step is to remove the Azure web hook from the web hook configuration in BitBucket and to remove the failing test. After pushing the changes to BitBucket the build and the first successfull deployment starts immediately.
I now add the failing test again to test the failing deployment again and it worked as expected. The test fails and the next commands don't get executed. The web hook will never triggered and the unstable app will not be deployed.
Now there is a failing build on Pipelines:
(See the commit messages)
And that failing commit is not deployed to azure:
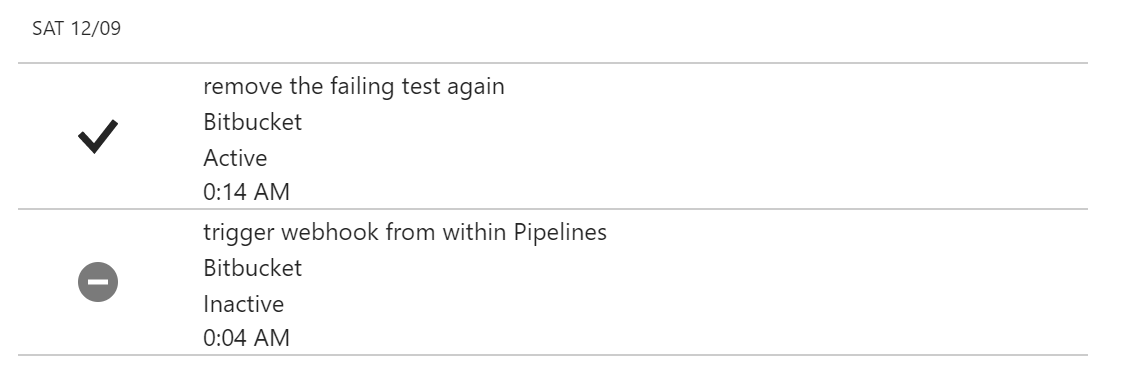
The Continuous Deployment is successfully done.
Conclusion
Isn't it super easy to setup a continuous integration? ~~Unfortunately we are not able to complete the deployment using this.~~ But anyway, we now have a build on any branch and on any pull-request. That helps a lot.
Pros:
- (+++) super easy to setup
- (++) almost fully integrated
- (+++) flexibility based on Docker
Cons:
- (--) runs only on Linux. I would love to see windows containers working
- (---) not fully integrated into web hooks. "trigger on successful build state" is missing for the hooks
I would like to have something like this on GitHub too. The usage is almost similar to AppVeyor, but pretty much simpler to configure, less complex and it just works. The reason is Docker, I think. For sure, AppVeyor can do a lot more stuff and couldn't really compared to Pipelines. Anyway, I will do compare it to AppVeyor and will do the same with it in one of the next posts.
Currently there is a big downside with BitBucket Pipelines: Currently this is only working with Docker images that are running on Linux. It is not yet possible to use it for full .NET Framework projects. This is the reason why we never used it at the YooApps for .NET Projects. I'm sure we need to think about doing more projects using .NET Core ;-)